Hope that you all have had a great weekend. I have a very busy week ahead and decided to Shellac my nails so that I am able to leave them untouched for the week! I could not decide on what colour to use, so I decided to go for black (Black Pool) with the effect colour Iced Coral. This gives the black a lovely green shimmery effect that I really like! This effect can be used over all the colours, but I find that using it over black really stands out.
Thanks for reading!

So this is what I used:
Shellac Base, Top Coat, Black Pool, Iced Coral and preped with Scrub Fresh after my cuticle detailing and nail shaping (not that I have much free edge!!)

I applied my base coat and cured

I applied one coat of Black Pool Shellac and cured

as you can see Shellac is really thin, and the thin coats allow for nails to feel polished, rather than thicker than gel. It is important to remember that Shellac is a hybrid polish and NOT a gel!

I then applied a second thin coat of the colour Black Pool to ensure full opaque coverage and cured


Once the Black was cured I applied Iced Coral Shellac over the colour and all over the nails. You could use a dotting tool or stiping brush if you just wanted to add accents and detail to the nails.

You can see that just one coat (which is all you will need) completely transforms the colour.

I then used a separate brush lightly moistened with alcohol to swipe in a French line.

I cured the whole hand one I had applied the Iced Coral and swiped in the French line

To finish I applied a thin coat of Shellac top coat and cured
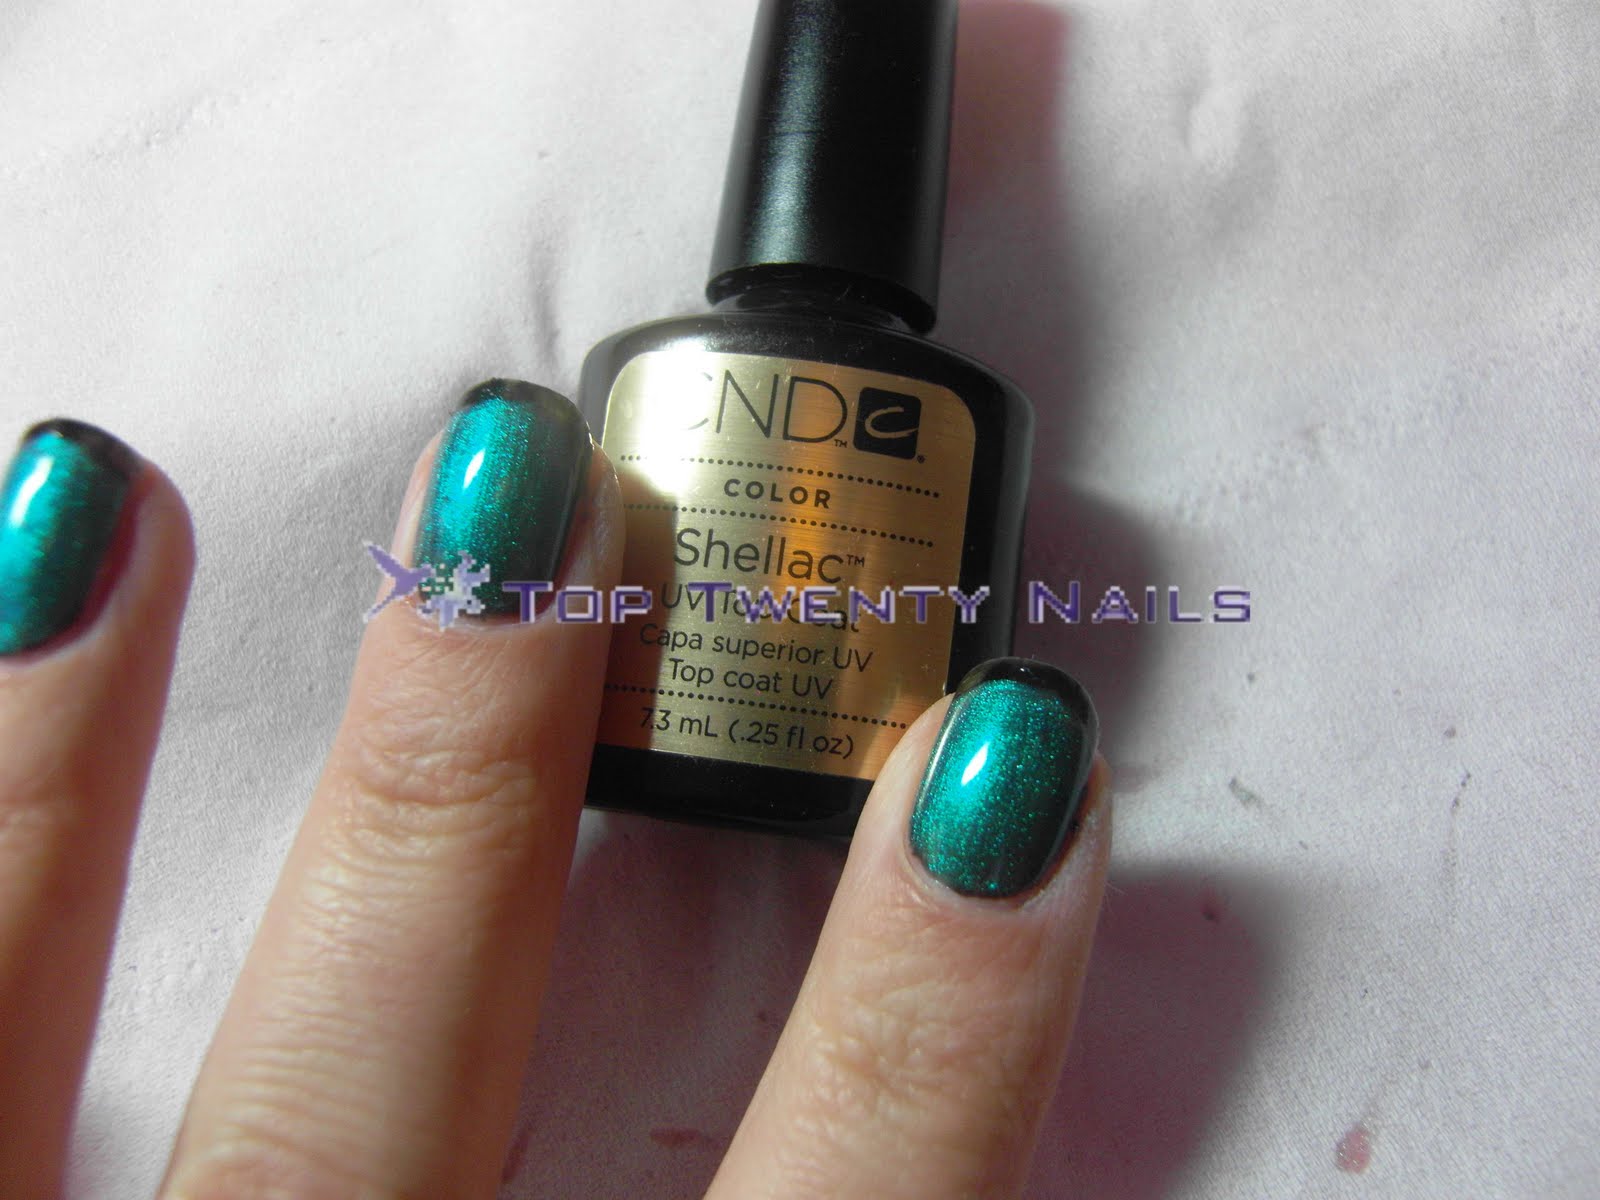
My finished nails!

Very cool! I haven't used Shellac yet; I have been using ibd Gelac. Have you tried Gelac? I'd be interested to know how it compares to Shellac.
ReplyDelete