Wednesday 31 August 2011

Some Nail Art - Checkered Nails

Hey Guys,
This is probably going to be my last blog entry for the next 10 days as I am off on holiday!!
Just thought I would share some nail art I was messing around with whilst I was waiting for a late running client!
I shall update again when I am relaxed and tanned next week!!
Have a good one, thanks for reading!
Claire xxx


I love using acrylic paints for nail art on dry nail polish - I find that this works really well as you can wipe off any mistakes you might make.  I mainly use craft paints, although I do find it best to water them down slightly.  For the checkered nails I used my OPI Competition Striper and used the details brush for the hearts.


Monday 29 August 2011

OPI Big Hair...Big Nails with Essie's 'Matte About You'

Hi Guys,

Hope that you have all had a great weekend! I am loving the lazy Bank Holiday Weekend, although wish that the sun was shining - I have the heating on!!

This weekend's nails are OPI's 'Big Hair...Big Nails' which is part of the OPI Texas Collection and I then used Essie's 'Matte About You'.  I have seen so many Orange colour nails recently, and have seen a lot of Matte finishes, I just had to give it a try! I love the finish, and have to say the finish on my nails is so smooth it's great.

So this is what I did:

My nails are in a bit of a state after picking off my Gel nails - which is really not advisable!

I applied OPI's Nail Envy and then a coat of OPI's Ridge Filler to smooth out my nails

I applied 2 coats of Big Hair...Big Nails.  This is a 'Sherbet' finish nail lacquer and it is not as opaque as the normal lacquers, but I love this jelly finish!


I let the lacquer dry slightly, and then applied a coat of Essie's 'Matte About You'.  The hand on the top has the Matte topcoat.

My finished nails!

Have you guys tried any matte finish manicures recently?!

Claire xxx


Wednesday 24 August 2011

Pink Wednesday - OPI Sparrow Me The Drama & Blue Shatter

Hi Guys,

Still got my Axxium SOG on to protect my growing nails for holiday - but wanted to wear some pink, so I pulled out my Sparrow Me The Drama pink - which is part of the Pirates of the Caribbean collection.  It is a lovely colour, with great coverage and reminds me of the pink dolly mixture sweeties!!  I have not really tried wearing polish over the gels and am looking forward to seeing how they wear.

You can see my gel design through the colour so I tried out my blue Shatter top coat!

Claire xxx


Tuesday 23 August 2011

Snake Skin Manicure - Attempt! Using OPI Axxium Soak off Overlay and Colour Gel

Hi Guys,
Hope your weeks are going well.  It is horribly rainy here in London and cannot wait for my holiday in 9 days!!! Looking forward to thawing my bones and seeing some sunshine!!

I have seen in a number of reports, magazines and newspapers the 'Snake Skin Manicure'.  This can be achieved using shed snakeskin.  The concept of using this for me is not all that appealing, but I do like the look of it.  There was a great tutorial in Scratch Magazine where netting was pushed into uncured gel, removed after 30 seconds and then the 'dents' filled in.  I however could not get this method to work no matter what I did!! I tried flash curing, completely curing, 10 seconds, 30 seconds and just could not pull the net out!!

After about 10 attempts at the method seen, I thought I would try my own.  I have shown pictures below, but these are my first attempts, and just wanted to share my thoughts and get some tips from any readers who may have tried this look too?!

For these, I used OPI's Axxium Soak Off Gel Lacquer and Overlay Gel.  I chose this as the tutorials I have read used soak off gels - and I have lots of colours!

Attempt 1:
I applied base gel and then a coat of OPI Axxium SO Overlay Gel and pressed in some gold netting.  I then cured the gel.
Using a dotting tool I 'filled in' the netting 
Tip - Flash cure each colour to avoid seepage!

Using a dotting tool I 'filled in' the netting

Using a dotting tool I 'filled in' the netting

I then added a main colour - although in hindsight I would have dotted all these in or more different colours.

I cured the coloured gels

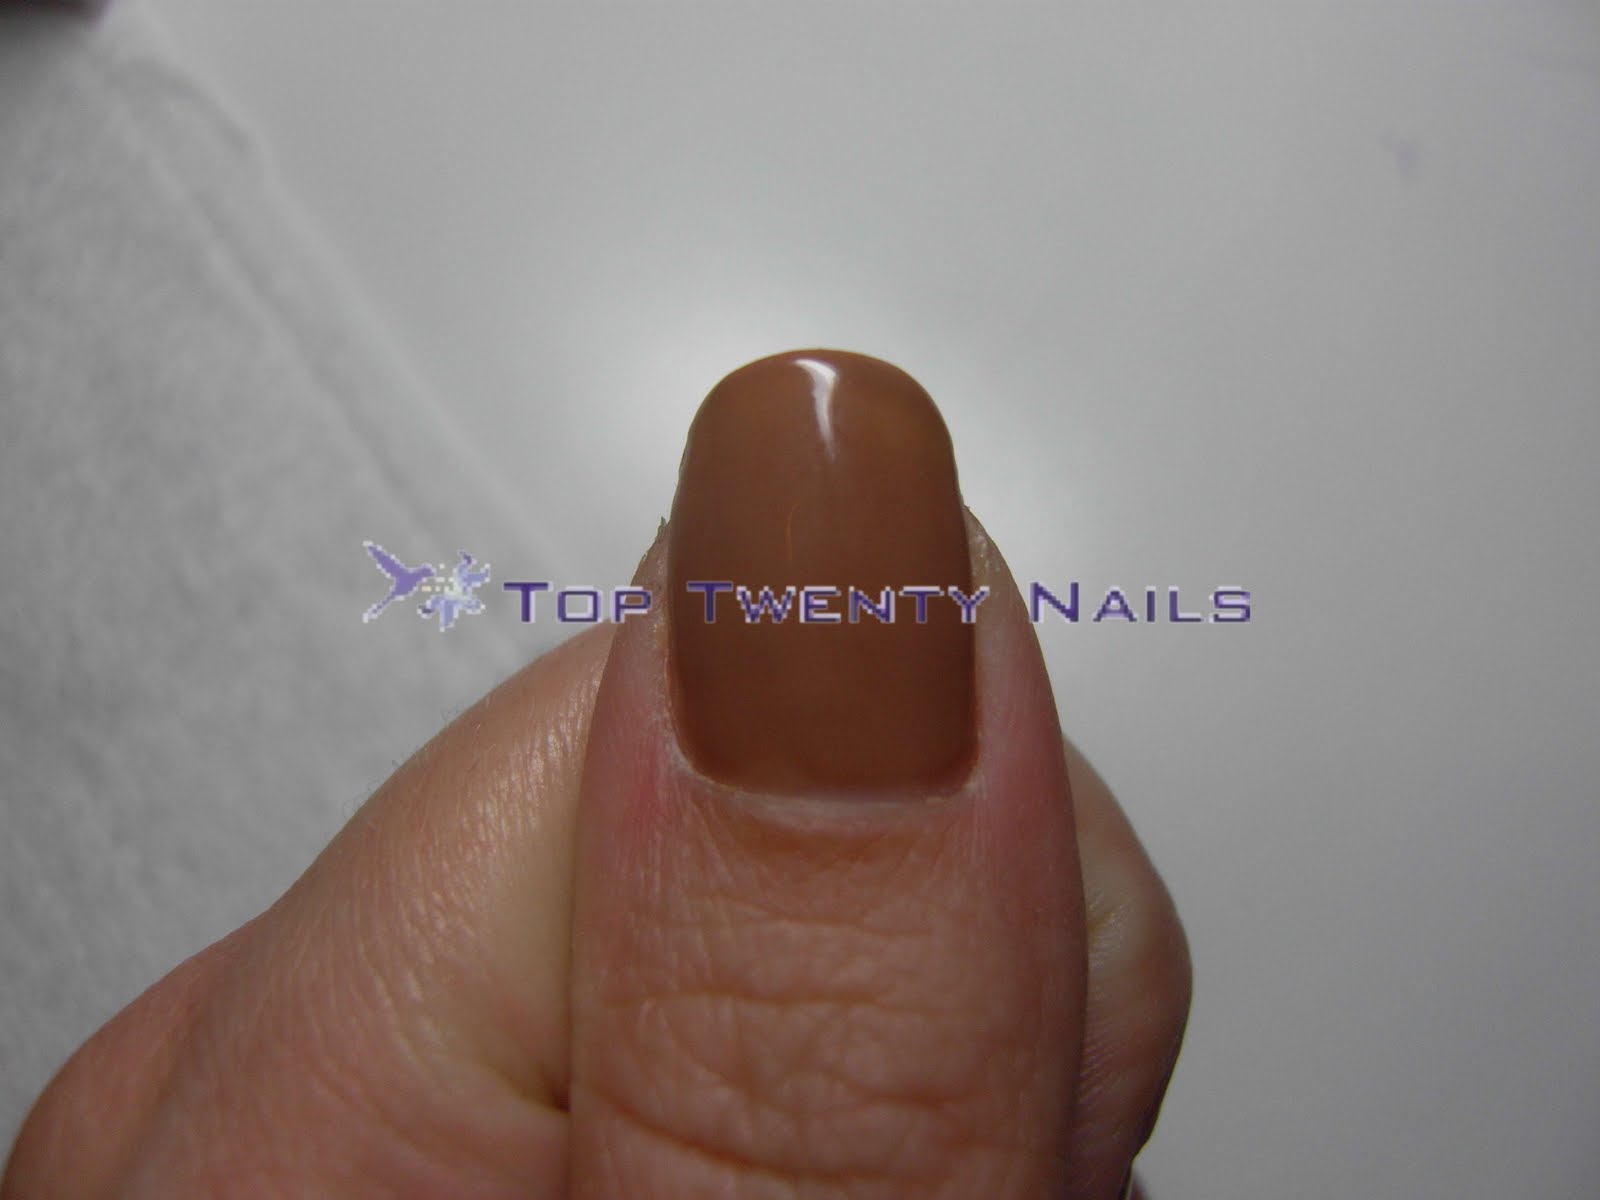
Apply overlay gel to build shape and smooth surface - file and shape and then apply top sealer - finished image at the end!
 Attempt 2:
Over base gel apply random colours and flash cure

Over base gel apply random colours and flash cure

Add a colour in the gaps and cure

Apply a thin layer of overlay gel and press netting in firmly - flash cure and then apply builder layer

Refine shape, and apply topsealer

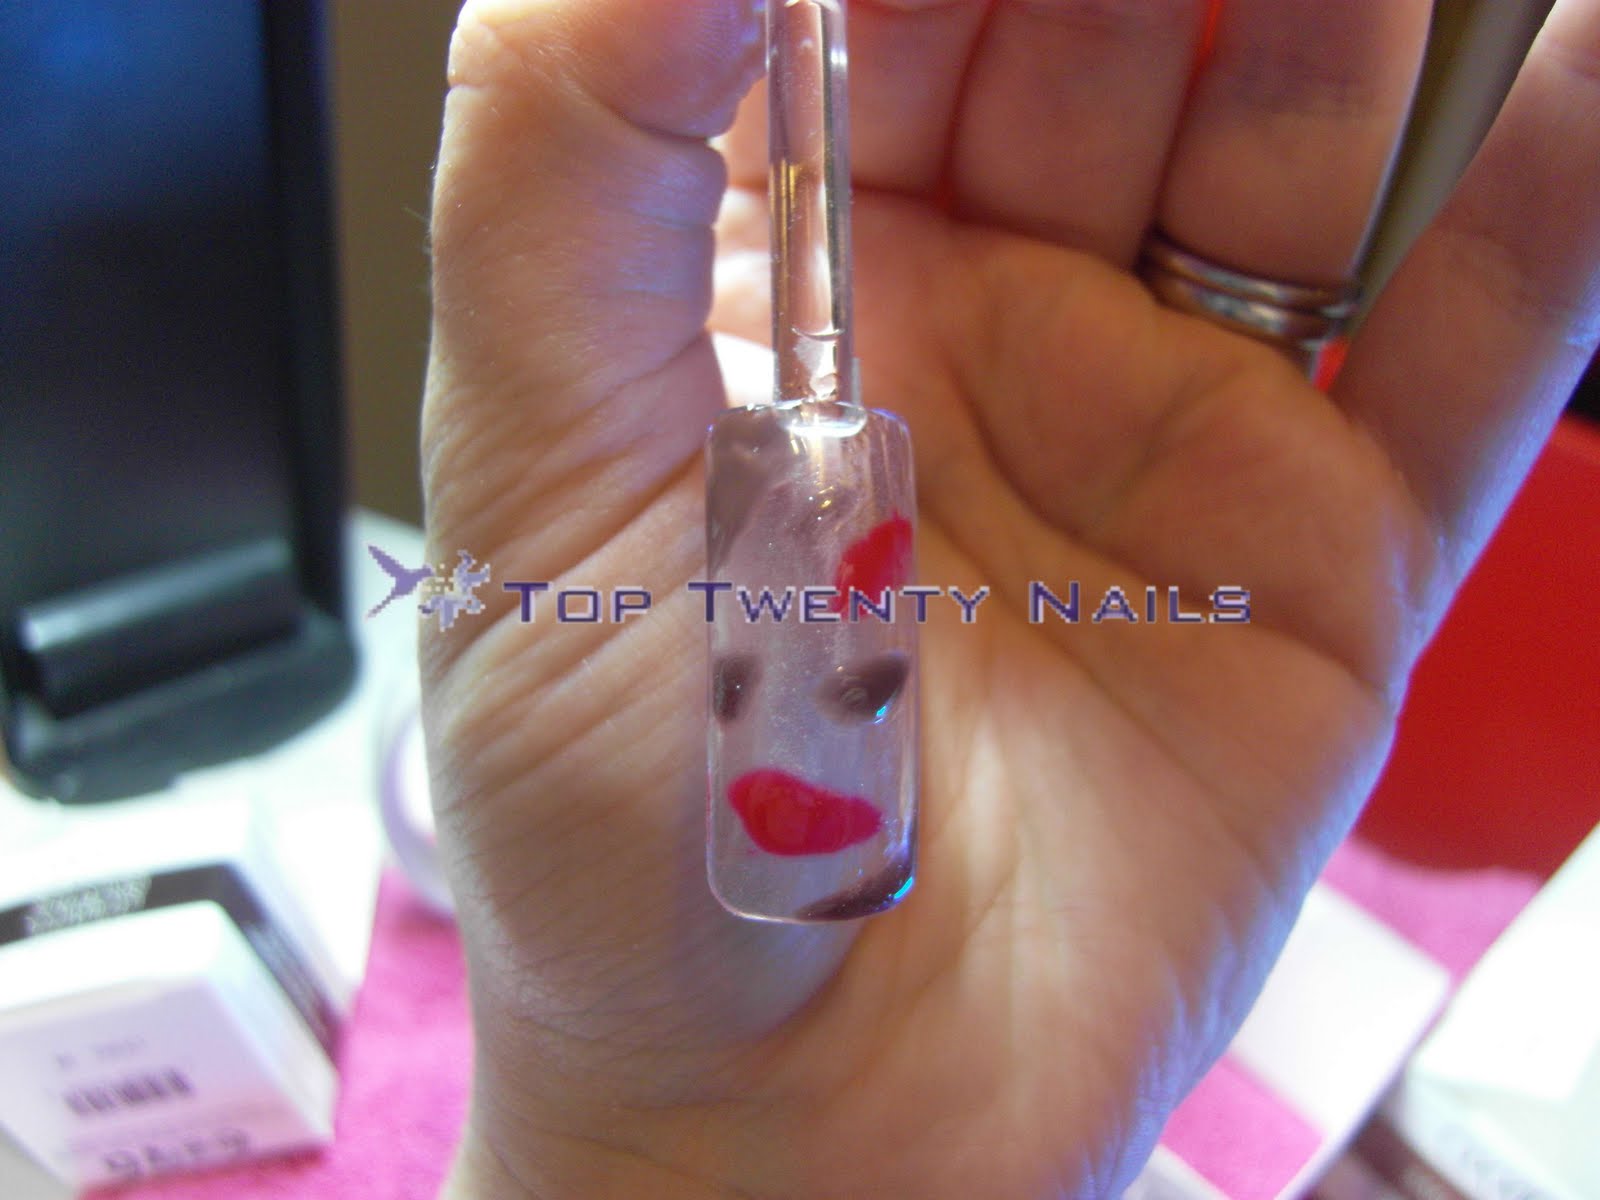
My attempts at snake skin

It seemed to look better on the underside!!!

Anyway - thanks so much for reading - your pointers and thoughts would be great!
Thank you, 
Claire xxx

Thursday 18 August 2011

A Few New Art Ideas

Hi Guys,

Just thought I would share a couple of nail art ideas!  I was playing around with my striping brush and gems, and this is what I came up with.  I really like my black and white 'distressed' look and was easy to achieve.

For the black and white look: Paint base layer, add black acrylic paint, whist wet go through with your brush.  This could also be achieved with gel.

For the purple nail:  paint your base layer, when dry using a striping brush in acrylic paints, draw lines from a corner in your chosen colours.  When happy apply a gem in the corner.

For the Jewel French: Apply base colour and finish nail.  Apply resin to the tip and apply jewels.  Sprinkle over glitter.  Brush off excess and voila!

Hope you like these!
Claire xxx


Wednesday 17 August 2011

Pink Wednesday - OPI's Aphrodite's Pink Nightie Toes

Hi Guys,

Being Wednesday I thought I should do something pink!! My toes are in a bad state, but they look much better with pretty pink!

I normal advocate bright or dark colours for toes, but I have not really used Aphrodite's Pink Nightie and thought I should give it a try!  It has a lovely creamy texture and is shimmery.  It applies slightly streaky, so I would suggest one for smooth nails or over ridge filler, you would notice and imperfections.

I have used my striper brush for the black stripes in Lady In Black and a dotting tool for the accents in DS Radiance.

What do you think about detailing on toe nails? I think it looks good, but the hubby isn't so sure!
Claire xxx


Tuesday 16 August 2011

OPI 'San-Tan-Tonio' Axxium Soak Off Gel with 'Suzi Loves Cowboys'

Hi Guys,
Sorry for being quiet on the posting front this week, I have been so busy!!  Hope that you are all having a great week!

I have at last got round to using my 'Neutrals Duo' from OPI's Axxium Soak Off Gel - these colours are from the Texas collection, and lacquers I have found really popular.  I used San-Tan Tonio as my main colour, and then did hearts using Suzi Loves Cowboys...however I forgot to wipe my dispersion layer before applying and they have run :( I was in a rush and didn't have time to rectify so sorry they look a little odd!! The pictures below are from after 3 days wear.

The colour is a nude caramel colour, and darker than the other nude colours available from OPI.  I think that this is a very usable shade, but it might look a little strange on someone with a very fair complexion. The dark brown, Suzi Loves Cowboys is a great staple and I can see this being more popular in the winter months.

The coverage is great, and the colour is not glittery or shimmery, which I think works well.  I like this colour and has been popular with my holidaying clients!  It goes with everything!

Have you tried a neutral colour yet?
Claire xxx


OPI Axxium SOG Neutral's Duo


Monday 8 August 2011

Shellac Rockstar Nails with Gold Foil Shatter Effect

Hey Guys!
Hope you all had a lovely weekend?! I had a client cancel this evening for Shellac and thought I should use the time to have a play around!!  I used some foils that I have had for ages and Shellac and to add some more glitz also used my trusty Martha Stewart Glitter!

A lot of my clients, and me, love the Shatter effect and I have all the OPI Shatter top coats, but it does not work over gels or Shellac.  I think I have found a solution though with the foil, and by dabbing it onto the inhibition layer you get a Shattered effect!  Foils come in so many colours and effects that you could match many outfits or tastes with no problems!

Shatter Effect with Shellac

It was very simple to do and I think that this could probably be replicated over lacquer if you are not gel trained.  The foils I used are from my local Hobbycraft and were only a few pounds.

I did find that using the glitter is detracted from the shatter effect and I should perhaps of used a more contrasting colour - but I think the idea will be worth more exploring!  I really do love my Shatter!

What do you think of these? Have you used foils, or had much of a chance to try out the glitter techniques?

Thanks for reading and have a great week!

Claire xxx

This is what I did:

I used Shellac Base, Tropix, Top Coat, Fire Opal Glitter and Gold Foil

Apply base, cure and one coat of Tropix and cure
With your chosen foil, gently 'dab' your foil against the tacky (inhibition) layer of the gel
If you want to just have a Shatter effect, apply 2 coats of colour - apply the foil and then top coat.  I have chosen in this instance to add a glitter/rockstar nail effect!

with a dry brush apply glitter, then dry brush again and wipe off and press glitter firmly

This is with the foil and glitter applied

Add your topcoat and cure

You may wish to add a second top coat to ensure a smooth finish - for toes you might not find this necessary.

Shellac Rockstar Nails with Gold Foil Shatter Effect