Tuesday, 12 April 2011

Toe NOTD - My Toes Today - Using OPI lacquers and Konad

I had to do my toes today as I could no longer stand looking at them naked after removing my minx!  I thought I would go for a summery colour and also broke out my Konad stamper - something I have not used before but heard so much about, and thought, why not?!

I have done this in a bit of a rush, so please excuse the state of my polishing - I will be re-doing them in a couple of days!!!

All items used from OPI are available from Lena White,  and the Konad stamper was a present - please google Konad for UK suppliers!!

I pushed back cuticles and trimmed nails, then applied OPI's Ridge Filler Base Coat.  For the colour I have used OPI's Rumples Wigglin' from the Shrek collection - and a perfect spring colour.  As with all OPI colours the coverage is superb in two coats.  This colour is a lovely lilac - and shiny!

I used the white Konad paint for the stamper and used a cat style template (this is my first try and this looked the most bulky design!)

I topped it with OPI's Rapid Dry and Used Drip Dry Drops and Rapid Dry Spray.

Thanks for looking - sorry for not been more exciting today!!

Hope your having a great week!

Claire xxx


Monday, 11 April 2011

NOTD - With Essie's Knockout Pout

Just a quick post today! I could not decide what polish to use, so let my hubby decide - not too sure that I would have chosen this colour - a little too loud for work me thinks!!

As with all Essie lacquers I have used, I have to apply it slightly thicker than I would my OPI's - but i so love the coverage and colours they do!  For this I have used Lumos base and top coat with 2 coats of Knockout pout - which I can only describe as a bright candy pink!

I am finding that less and less of my clients are using polish and opting for the gel lacquers (I offer Axxium and Shellac) so am enjoying updating you guys with my growing collection, and hoping to persuade clients to go for some polish - especially on their toes in time for summer!! Note: I do gels on toes, but find that polish lasts perfectly well on toes when prepped well - and I think it is better to change polish every few weeks.  A number of clients go for months with gel on their toes which can hide a number of conditions.

Also, just to let you know I will be announcing the winner of my Opening Giveaway later on this week - it is taking me a little longer than expected to check the entries. Thank you for your patience!!

Hope you all had a great start to the week and that it keeps getting better!!

Anyway - just a few pics today of me messing around with lacquer and white dots!! My dots were done with w brush rather than a dotting tool as I was being lazy! This is why they are not as uniform as they would be on a client.

Claire xxx


Sunday, 10 April 2011

Paw Print Tutorial - Using OPI lacquers and Polycolor Acrylic Paint

Hi Guys,
Hope you have all had a wonderful weekend?!  I have been enjoying the London sunshine, and took a break to pull together a couple of tutorial ideas for you that I will put on throughout the week!
Today I thought I would start with a design that I saw in the DNA Nail Art book, and being a cat lover I felt I should share!!

For this I used OPI's Passion for a neutral nail look, and OPI's Funky Dunky (Part of the Shrek Collection) for the french line.


When using acrylic paint, I have found that using a natural fiber brush to work much better.  

Prep your nails - This includes pushing back cuticles - removing any debris from the nail plate, and dehydrating for better adhesion.  Apply base coat and two coats of your base colour.  


For the french line, apply a small amount of lacquer into the nail brush.  This is also the same amount I use for normal smile lines.


Paint a diagonal line.


Next, fill in the gap up to the end of the free edge.


Allow to dry slightly and apply a second coat and again, allow to dry.
Whilst waiting put the black and white paint (or what ever colours you are using) in a piece of paper, plastic, foil or palette.


Using a thin clean brush, paint 4 dots in a semi-circular motion with a larger 'blob' in the middle to great a paw look! (sorry for no pictures, they didn't come out well).  I used black on the light colour and white on the dark - but really any colour combination will work.


Apply a high gloss top coat - in this instance I have used Lumos top coat.

A few more of these to come through the week - have a go and let me know how you get on!!  Also, let me know if there is anything you want to see!

Claire xxx

Friday, 8 April 2011

Weekly Blog Round Up! - Week 2


Hi guys! This worked so well last week, with a big thank you so much to Stacie we have pulled this round up together for another week!  Thank you as well to all the contributing blogs - your work is amazing! I hope you like it too! Have a great weekend, Claire xxx

Grace made a great tutorial video on how to use a konad and have these fantastic nails   
Emily watched put a twist on the usual nautical manicure. Watch out for the sharks!  
Stacie went all a flutter 
Sharon dragged her way to a perfect manicure  
Jen played with fimo this week and came up with this awesome design  
Nicole is pretty in pink with this Fauxnad design 
Dawn kept the doctor away with this fantastic apple design  
Lovin Nails used China Glaze Four Leaf Clover for a gorgeous accent nail manicure  
Claire was rocking with this cool shellac tutorial  


And as a little bonus we love this tutorial by the lovely Leanne at do not refreeze

If you would like to be included in future round ups please visit here


PS - only have until 5pm GMT on Sunday to enter my Toptwentynails giveaway - why not enter to have a chance at winning some lovely Lumos and OPI products?!

Monday, 4 April 2011

OPI's Houston We Have A Purple - 2011 Texas Collection

Hi to all my lovely new followers!! Have you entered my OPI and Lumos Opening Giveaway yet?! Click here to enter!

This is just a quick post of the new Houston We Have A Purple sorbet polish from OPI's 2011 Texas Collection.  This is using two coats of coloured lacquer, and I think the colour and shine is great.  Slightly less opaque than other comparable polishes, but I think the look is great for the summer!


Thanks for looking!

Claire xxx

How to do...Pink and White French

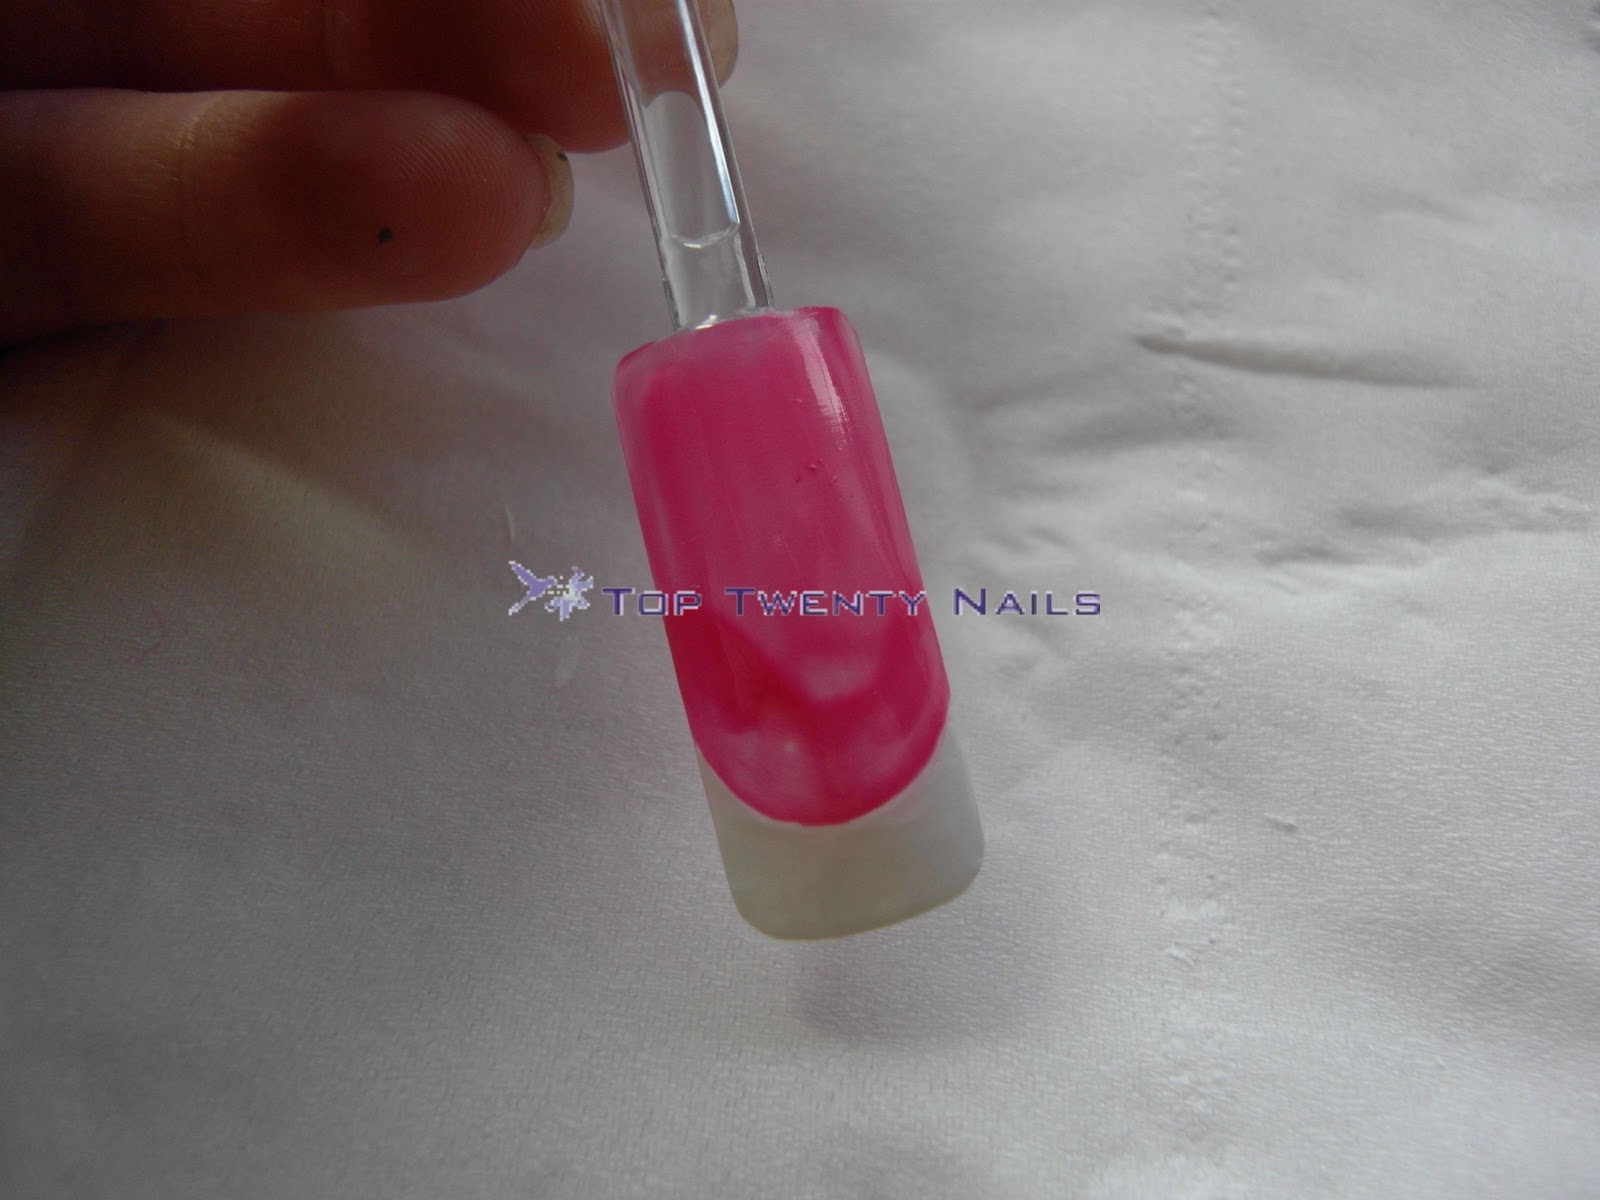
I love the image on the from of the UK Lena White OPI Pricelist from 2010! It is a white free edge with a dark pink nail.  I have pulled together a little how to guide for you :)


This technique can be done with any colour combination, on both long and short nails.  You just need to keep practicing your smile lines!!


Prep the nail and apply base coat - I use OPI's Ridge Filler Base on nails that need some smoothing, or you can use Lumos - another great product.

Apply a thin layer of white - in this case Alpine Snow - from the side towards the centre.  Keep a small amount on the brush, and using a sweeping motion - don't be afraid to use the body of the brush, not just the end.  Allow to dry slightly and apply a second thin coat.  If you are comfortable with this, use more lacquer on the brush and just use one coat.  Neaten up the smile line with the OPI Corrector pen, or with a cotton bud soaked in remover.


When you are happy with the shape and thickness of the smile line, apply the colour for the nail - using a sweeping motion underneath.  Here I am using OPI's Strawberry Margarita.


Next, fill in the rest of the nail.  This does not need to be too thick as you are applying two coats.


Allow to dry slightly, and apply a second coat - in the same way, making sure you blend in and different stoke lines.


Apply top coat.  OPI's Rapid Dry is great, as is Lumos.

You can also use the same techniques with different thicknesses!


Anyways, just a different idea for you to try that can look really effective!  This can be used on any shape and length of nail.  If you are unable to paint a free hand line, you could try using tape, or the french line guides available in chemists.

Hope you have a great week!  Please let me know what you think, and whether you want to see any more tutorials/guides.

Claire xxx

Sunday, 3 April 2011

'Rockstar' Nail Tutorial - A picture heavy post!!

I do hope you all had a great weekend!  As promised, I have put together a couple of tutorials that I will add to the blog during the week, but thought I would start with the most requested - 'Rockstar' Nails.  


The idea of these nails is to use loose glitter, rather than a glitter gel or polish.  For this tutorial I have used Shellac as I have found this to work well, but it would also work on other gel services - I have very successfully used Axxium SOG too.  


Step by Step:


I used; Martha Stewart Glitters - I find the colour options and the fine glitter fantastic for nail services. Shellac Base, Sealer and Clearly Pink colour.


I preped the nail (in this case a colour pop) following the Shellac PEP procedure.


Step 1:  Apply a thin layer of base coat and cure


Step 2:  Apply a thin layer of colour, I have used Clearly Pink, though Negligee would work just as well - you can use translucent colours or opaque.  I do not use a strong colour as you are covering it all with glitter and I think it is a bit of a waste.  You need to have a layer of colour over the base to ensure that the glitter adheres to the nail, it will just slide off the base! (for Axxium I have found this step is not necessary).


Do not cure!


Step 3:  On the uncured layer of gel, tap glitter on to the nails


Step 4:  When the nail is covered in a layer of glitter, press the glitter into the gel with your finger - please ignore the state of my nails!!!!


Step 5:  Cure the nail - i have put a piece of tissue under the nail pop to prevent any Shellac or glitter running onto the lamp.


Step 6:  Once removed use a nail brush - the NSI plush brush is great for this, to gently remove and excess glitter and apply a layer of top coat. Keep the layer a little thicker than you would normally use and cure.


Step 7:  Remove the sticky inhibition layer, and gently buff the nail, to ensure it is smooth. Be sure to file the free edge, to remove and particle that are hanging over.


Step 8:  Clean the nail again with a lint free wipe moistened with 99% isopropyl alcohol 


Step 9:  Apply a final layer of top coat.  Cure the nail.  When cured remove the tacky layer and apply solar oil. (I missed the oil step on my plastic nail!!!!)


The end result is shiny, sparkly, and long lasting nails!

I hope that you have found this helpful - please do let me know if you have any feedback before I post other tutorials - this is the only way I can improve!!  

I have used this method on a number of clients,  and have found this way by trial and error,  as well as speaking to other Nail Techs and watching other tutorials.  The glitter does not need to be applied to the whole nail, you can use glitter in parts of the nail over a layer or two of colour - as long as you ensure that you press it into the nail, and seal well you should have no problems!! 


Let me know how you get on too!!

Claire xxx