Monday, 8 August 2011

Shellac Rockstar Nails with Gold Foil Shatter Effect

Hey Guys!
Hope you all had a lovely weekend?! I had a client cancel this evening for Shellac and thought I should use the time to have a play around!!  I used some foils that I have had for ages and Shellac and to add some more glitz also used my trusty Martha Stewart Glitter!

A lot of my clients, and me, love the Shatter effect and I have all the OPI Shatter top coats, but it does not work over gels or Shellac.  I think I have found a solution though with the foil, and by dabbing it onto the inhibition layer you get a Shattered effect!  Foils come in so many colours and effects that you could match many outfits or tastes with no problems!

Shatter Effect with Shellac

It was very simple to do and I think that this could probably be replicated over lacquer if you are not gel trained.  The foils I used are from my local Hobbycraft and were only a few pounds.

I did find that using the glitter is detracted from the shatter effect and I should perhaps of used a more contrasting colour - but I think the idea will be worth more exploring!  I really do love my Shatter!

What do you think of these? Have you used foils, or had much of a chance to try out the glitter techniques?

Thanks for reading and have a great week!

Claire xxx

This is what I did:

I used Shellac Base, Tropix, Top Coat, Fire Opal Glitter and Gold Foil

Apply base, cure and one coat of Tropix and cure
With your chosen foil, gently 'dab' your foil against the tacky (inhibition) layer of the gel
If you want to just have a Shatter effect, apply 2 coats of colour - apply the foil and then top coat.  I have chosen in this instance to add a glitter/rockstar nail effect!

with a dry brush apply glitter, then dry brush again and wipe off and press glitter firmly

This is with the foil and glitter applied

Add your topcoat and cure

You may wish to add a second top coat to ensure a smooth finish - for toes you might not find this necessary.

Shellac Rockstar Nails with Gold Foil Shatter Effect


Friday, 5 August 2011

Weekly Blog Round Up - Week 19!


Hi All, 

Check out this weeks blog round up!! Hope they inspire you!

Claire xxx

Sarah stamped a pretty red and white design with her Fauxnad plates and using Beauty UK coral for the base http://spellbindingnails.blogspot.com/2011/08/sdp-d12-red-and-white-floral-design.html
Stacie was inspired by a Tatty Devine bunny brooch http://kawaiinailart.blogspot.com/2011/08/bunny-nails.html
Claire created a paint splatter manicure with her Konad plates using OPI red as the base http://toptwentynails.blogspot.com/2011/08/opi-red-and-konad-splatter-step-by-step.html
Theresa dipped her clients toes in crystals with this extravagant pedicure http://theresabloor.blogspot.com/2011/07/swarovskidiamonte-crystal-toes-pedicure.html
Trisha showed us what she got when she broke her 3 month no buy http://www.trishadotj.com/2011/07/i-broke-down.html
Emily brought back the 80s with her pacman manicure http://emilysnailfiles.blogspot.com/2011/08/pacman-french-manicure.html
Lena showed her Nails Inc polish free with 2 dove deodorants http://thestudentsguidetonailpolish.blogspot.com/2011/08/nails-inc-copacabana.html

If you would like to be involved in future round ups email Stacie.fields@gmail.com

Thursday, 4 August 2011

My First 'Proper' Attempt at Konad

Hi My Lovelies!

I have seen so many wonderful nails using Konad stamps, and very limited success with a kit I had - I finally ordered Set B and gave it a try!

I have to say I am impressed - perhaps there was something wrong with my other set.  I found it easy to 'pick up' and a quick way to cover up slightly wearing nails, as mine were!

My lacquer was chipping and this is what I did to try and hide it!!!

I used the Konad stamping set B

Intricate pattern in seconds! Almost looks like it's been airbrushed!

Hiding my chipped nails!
Thanks for reading guys!  Have you had tried Konad yet?!
Have a great rest of the week!!
Claire xxx

OPI Red and Konad Splatter - Step by Step

Hey Guys!

Welcome to my new followers - I look forward to chatting with you!!

I finally managed to get my hands on some more Konad Plates and the Splatter image that I have seen SO much are really wanted!  Tonight I finally had a little bit of time to have a play and this is what I came up with :)


I used OPI red as a base, and the red and white (went with the regal/nautical theme) Konad polishes.  I have used the Konad polishes for the stamping as I find they pick up a little easier than the OPI and Essie polishes I have tried - although they do still work.

Over the weekend I will be giving this a try our with both my Shellac and Axxium Soak Off's and will post the results of that if it works!

Have you tried Konad stamping, what is your favourite image?!

Anywho, have great weekends!!

Claire xxx

This is what I did:

I started prepping my nails and applyng base coat and two coats of lacquer - I then went and had dinner so they dried a bit - this is not essential!!! :)

I used Konad polish, paint, stamper and scraper (I don't have the image plate holder - though think it would be a little less messy with one)

I chose my image and applied polish in the 2 colours I wanted 

I scraped off the excess onto a throw away towel

Rolled over the stamper to 'collect' image

rolled image onto nail - note *your nail is curved, so do not press this flat as you will not get the image, roll the stamper from one side to the other swiftly*

I let dry for a minute and then applied top coat!

Sunday, 31 July 2011

Illamasqua Force Nail Polish

Hi Guys,

Hope you are all having a lovely weekend, I am enjoying a nice glass of Pimms whilst writing this - apologies for any typos!!!

I have tried out the Illamasqua Force colour nail polish today - I have been wanting to try out this UK based brand for quite sometime and finally managed to get my hands on some this week.  This colour force (wonderful electric/royal blue) is in the summer shop at Illamasqua for £9.45 - and this is a great price for what I think is a great polish!  I love their eyeliners and face powders too - well worth looking into their products.

The lacquer is thicker than I am used to (i mainly use Essie & OPI). It is highly pigmented for great colour.  You get good coverage in one coat which is great should you be in a rush and is completely opaque in 2 coats.  The brush is thinner that OPI's and thicker that Essie, it is also quite long which took a little getting used to.  Overall easy to use and great coverage.

I will let you know how well it wears!

Claire xxx

Force Colour Illamasqua Lacquer

One coat of lacquer 

2 coats inside


2 coats in daylight

Illamasqua Force Polish - 2 coats in daylight/sunlight
Thanks for reading xxx

Friday, 29 July 2011

Weekly Blog Round up!


Check out these great bloggers updates!
Have a super weekend!
Claire xxx

Grace designed some yummy candy striped nails http://ooooohpretty.blogspot.com/2011/07/candy-cane-nails.html?m=1
Sharon is having a giveaway to celebrate her blog birthday http://polishinfatuated.blogspot.com/2011/07/giveaway-polish-infatuated-turns-one.html
Nicky tested out OPI it’s my year for their new collection http://nicnacksnails.blogspot.com/2011/07/opi-its-my-year.html
Ladyluck is also celebrating her blog birthday with a giveaway! http://ladyluckbeauty.blogspot.com/2011/07/my-first-giveaway.html
Sarah created a movie buff manicure and demonstrated some SdP plates http://spellbindingnails.blogspot.com/2011/07/sdp-d20-night-with-some-movies.html
Theresa showed us the amazing new Gelish Aurora collection http://theresabloor.blogspot.com/2011/07/new-gelish-aurora-efx-third-nail.html
Stacie played with some holographic paint flakes from ebay http://kawaiinailart.blogspot.com/2011/07/holographic-paint-flakes-fun.html

Tuesday, 26 July 2011

OPI DS Radiance - NOTD

Hey Guys!
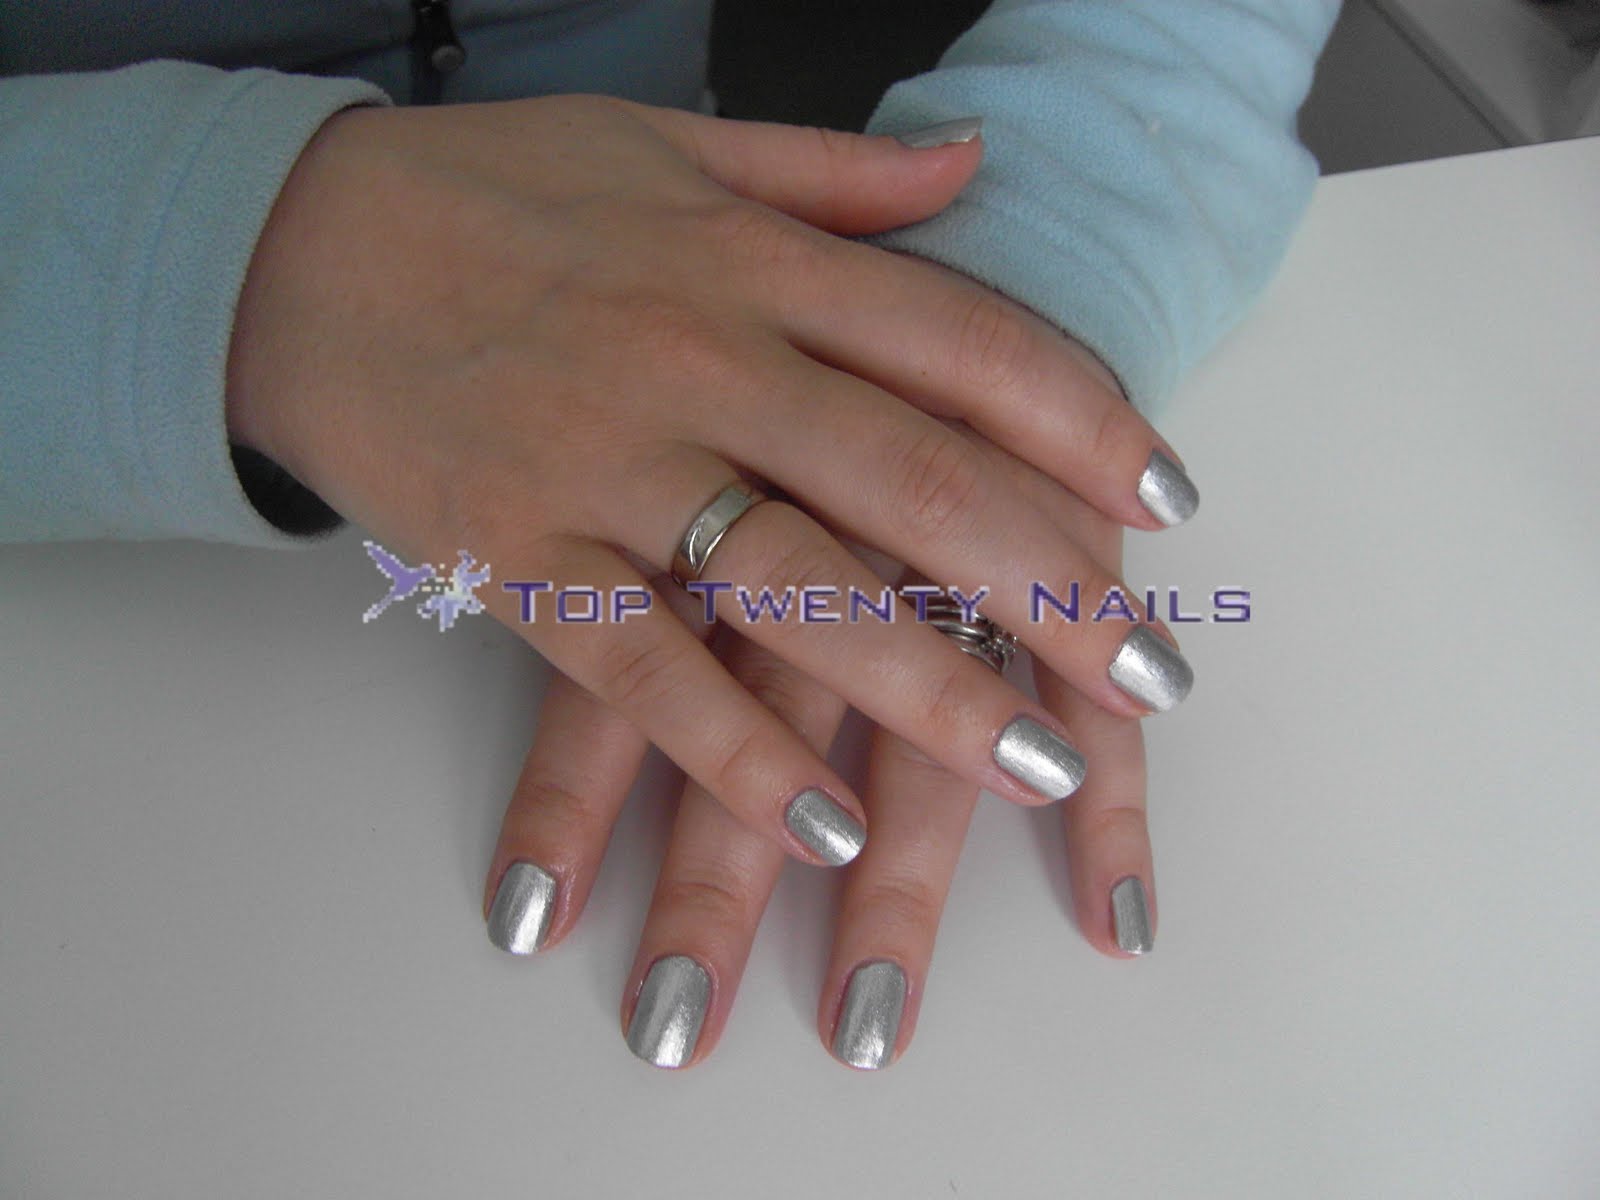
Hope you are all having a good week - just thought I would do a quick update with my silver nails using OPI DS Radiance! This is a great silver with fantastic coverage and shine! I wore it on a night out with a little black dress and red lipstick - great polish and so shiny!!!

Have you tried the OPI Designer Series range? I have not tried any of the others yet - but really think i might have to get me hands on some!!

Claire xxx


I used chip skip, nail envy, ridge filler base coat, 2 coats lacquer and top coat with my rapid dry spray and drip dry as I was in a hurry!

This is one coat

this is with 2 coats

with top coat!
Thanks for reading! 

xxx